I've recently been playing with a local band called Emulator. We do covers of old Nintendo game music and I play the projector (meaning I do all the projected video effects). The music is great, and I get to try out all sorts of fun projection mapping ideas. There will probably be a blog post about that at some point so stay tuned..
In any case, I had this idea to create little Nintendo cartridge key chains to give away or sell at shows. The project went through several different iterations, and ended up becoming quite the elaborate. It went a little something like this...
Prototyping!
Before getting into the actual manufacturing, I figured I should know what I needed to make. I started by measuring and mocking up a cross section of a nintendo cartridge in Illustrator, and printing it out in a few different sizes. After that I used the printed images as a template and cut foam core pieces to use as mock ups. I put them on a chain and carried them around on my keys for a few days to see how the different sizes felt in my pocket and on my keychain. This was very valuable because I was leaning towards the larger size until I found it to be bulky and awkward.
Manufacturing
First idea, LASERS!
Back when I was playing with Son of Rust, I made a bunch of laser cut keychains that looked sort of like those translucent chips they're always fiddling with to reconfigure the ship computer in Star Trek the Next Generation. I figured I could do something similar with opaque gray plexiglass and it'd look something like a NES cartridge. This ended up being a bust because I couldn't find gray plexiglass, and after looking into it the price to make each keychain was just a little too high to make sense.
Second idea, 3D PRINTERS!
This seemed like a viable solution, but the output of extruded 3d printers still has a pronounced grain from the plastic filament. This can be solved by tooling the finished piece but would mean a lot of manual labor for each part. Since I don't have a 3d printer yet, I'd have to have that work done by someone else so the cost was again an issue.
Final idea, resin casting!
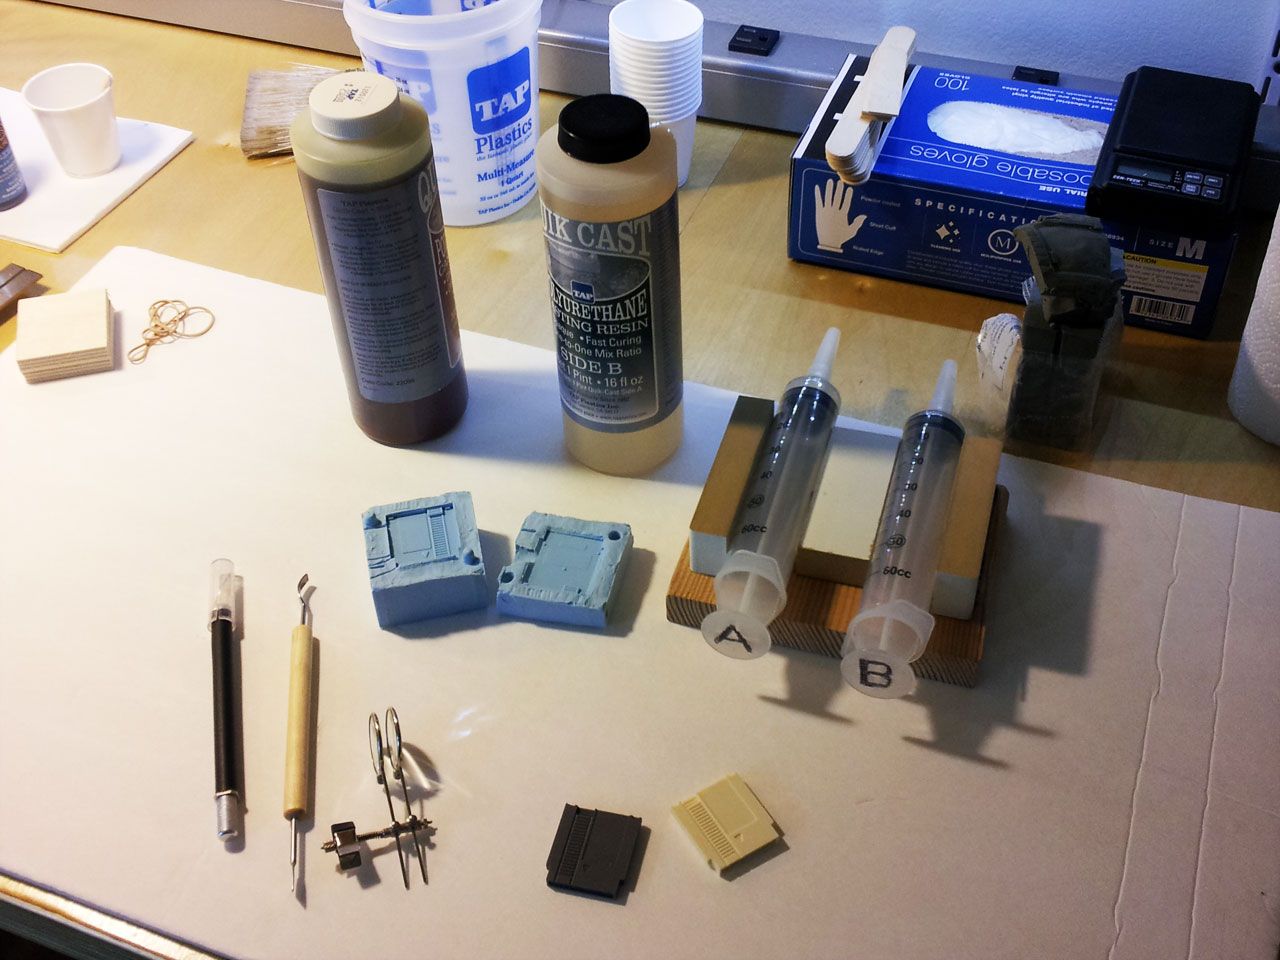
Casting copies of a tiny cartridge using a silicone mold and some polyurethane resin seemed like a good solution, the cost was unbeatable (only about 15 cents worth of resin per part). However, I'd never done any casting or mold making before and I still needed a master model to create the mold.
Rather than order a 3d printed model, I took on the task of manually milling one from jewelers wax using a miniature drill press and X/Y stage. This was done entirely by hand and I now have a huge appreciation for CNC machines.. I used a 0.05 inch dremel cutting bit, and a 0.025 inch engraving bit and manually milled off the wax using the X/Y stage in multiple passes like an etch-a-sketch. I spent some time with my dial calipers and a full scale cartridge to keep the proportions right, but most of it was done ad-hoc.
Originally I was just going to add the major physical features but once I had a few of the small details added I realized I had to go all the way so I put the recessed areas in the back, screw holes, and even the little grip marks on the sides. I'm glad I went to the trouble because they came out looking great.
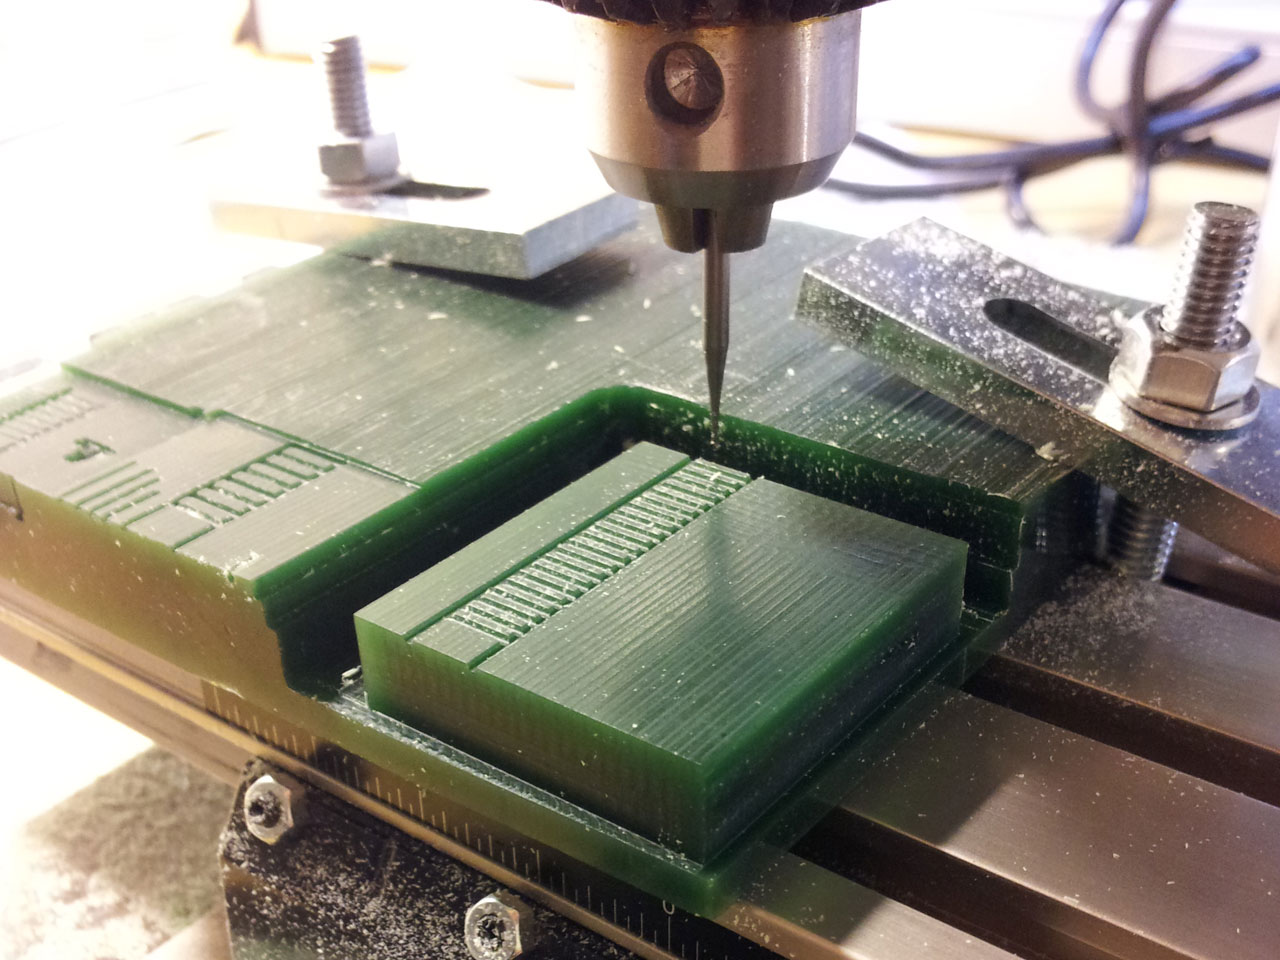
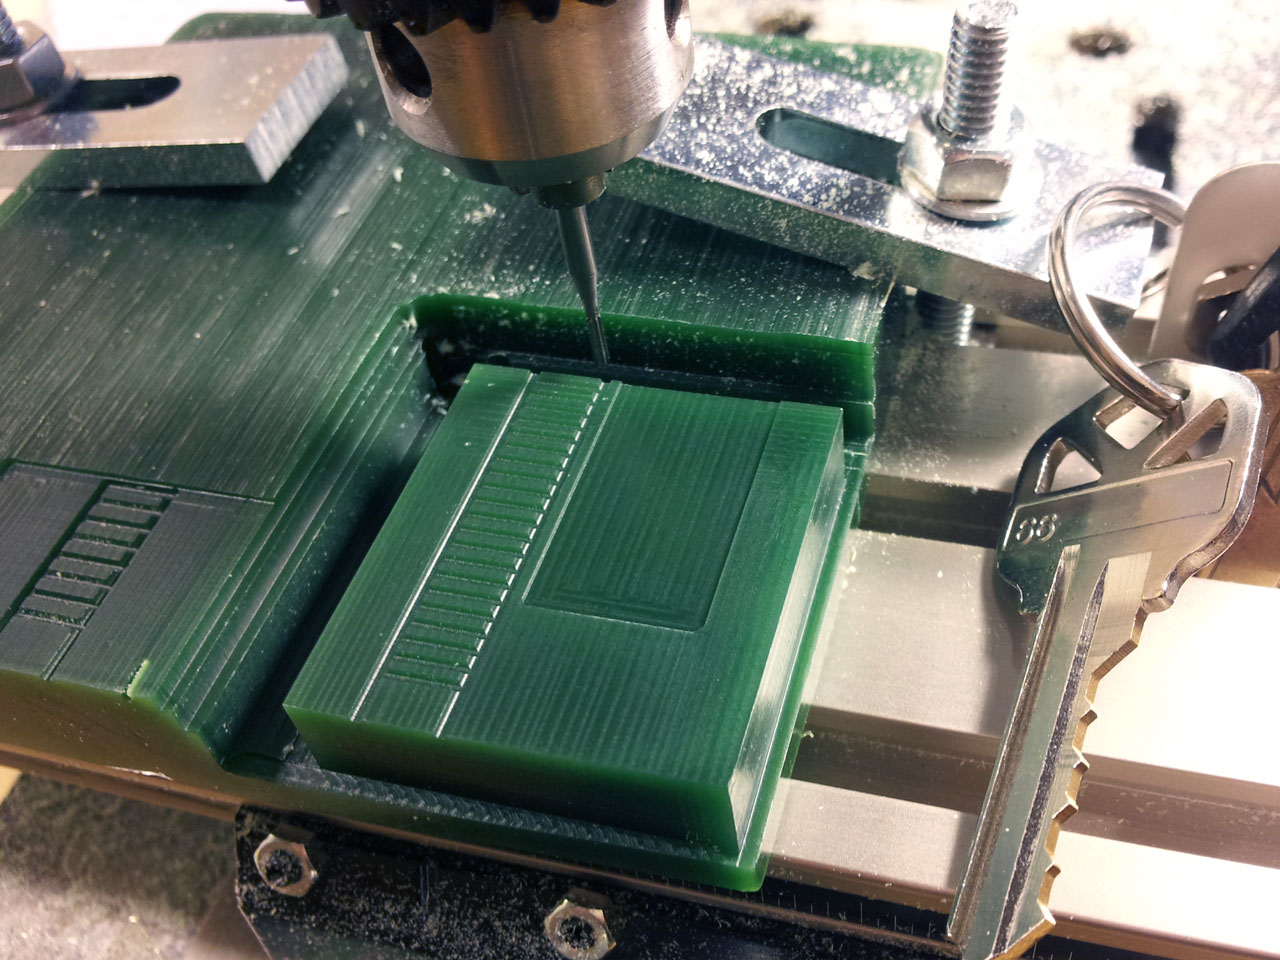
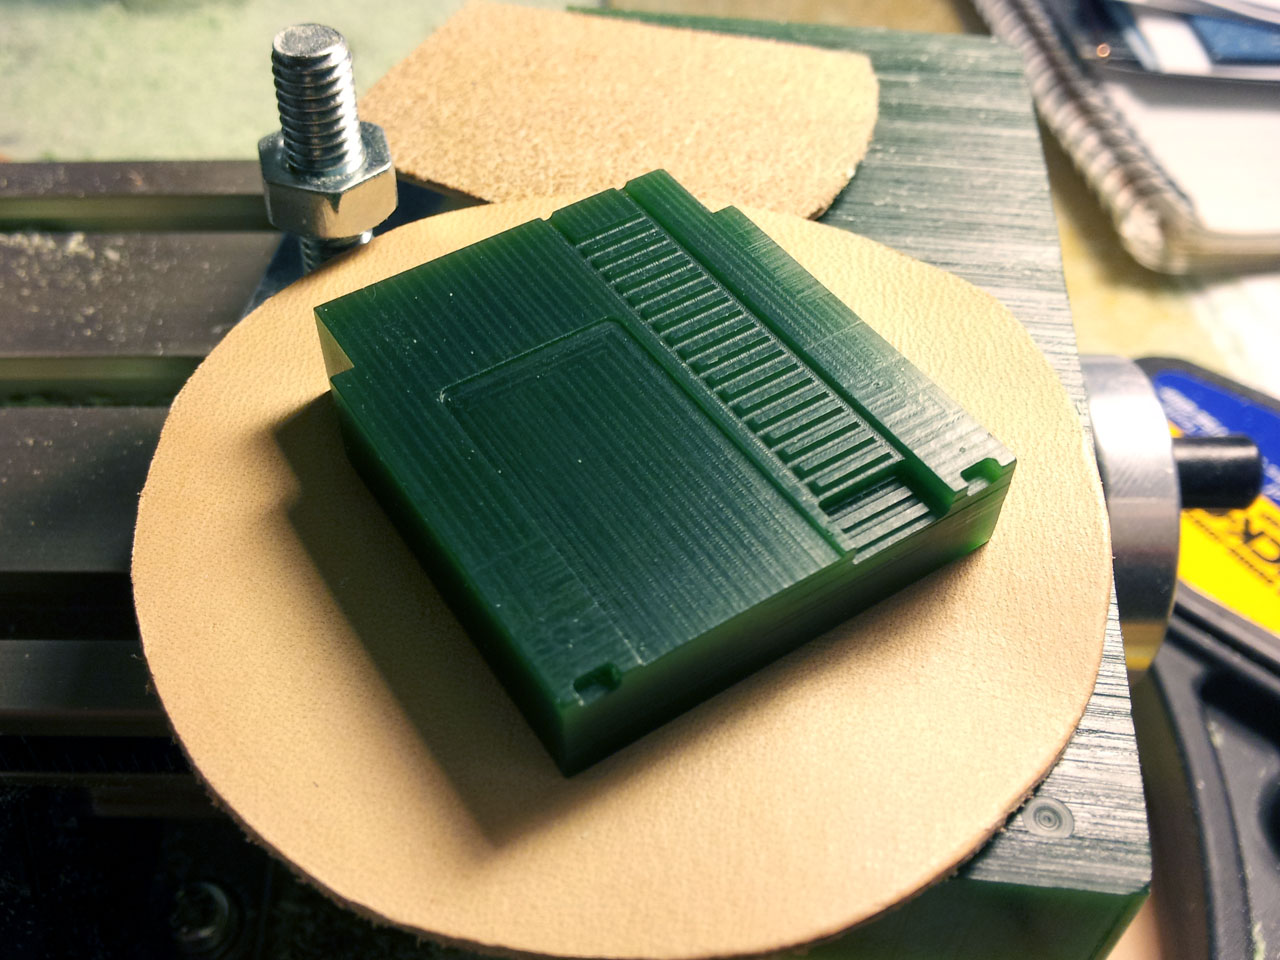
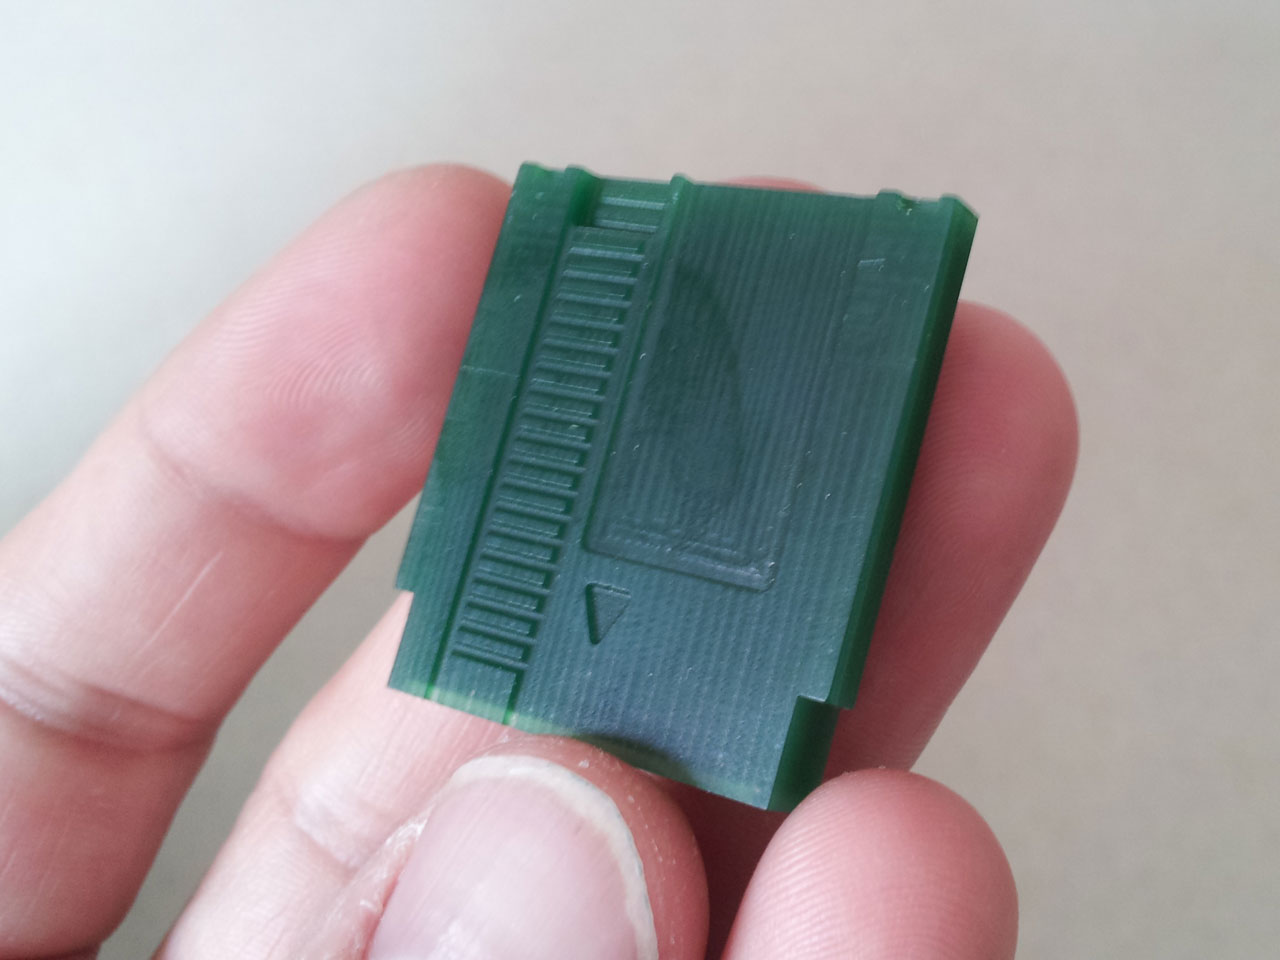
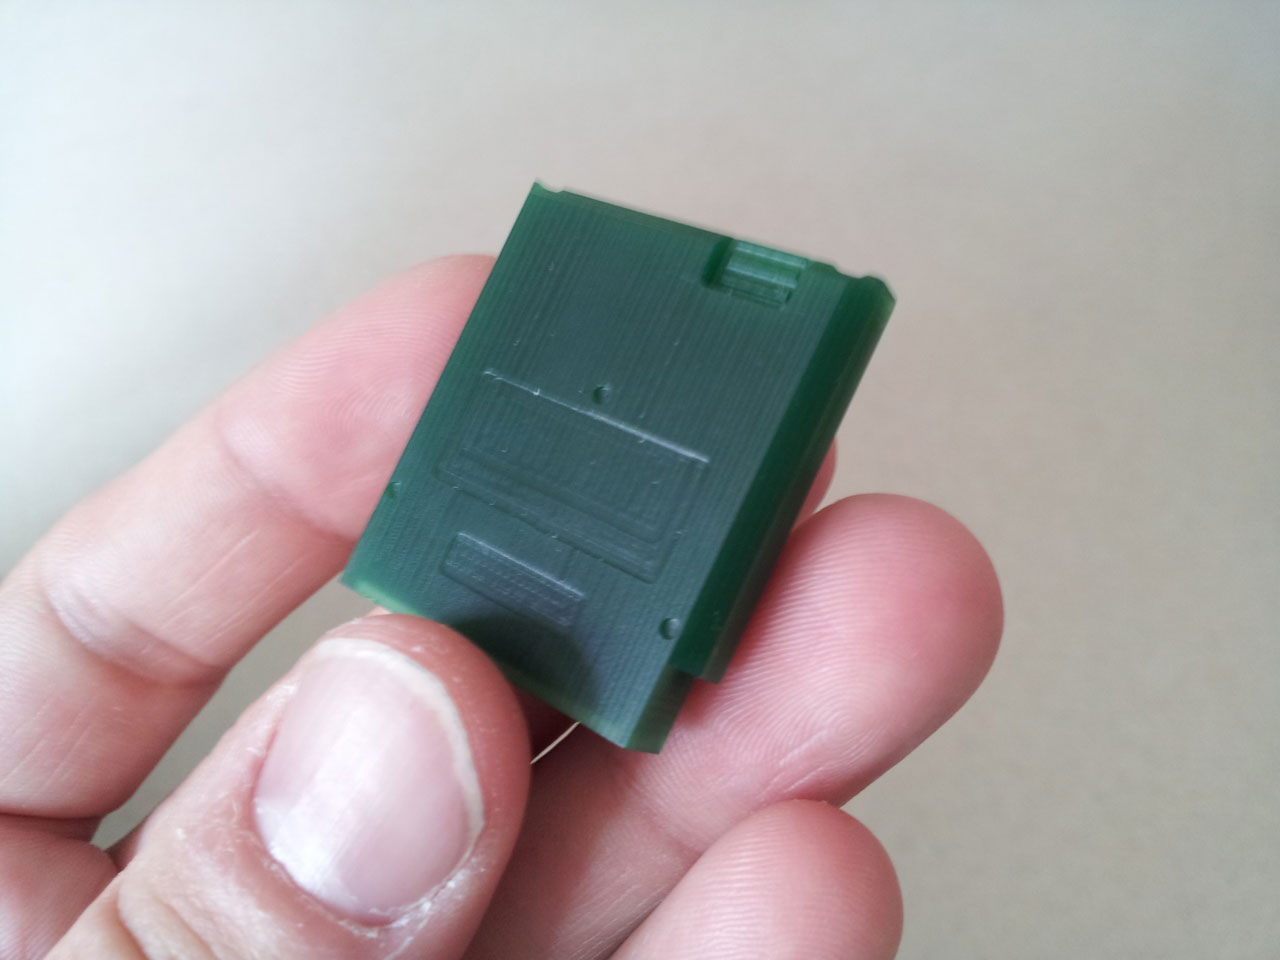
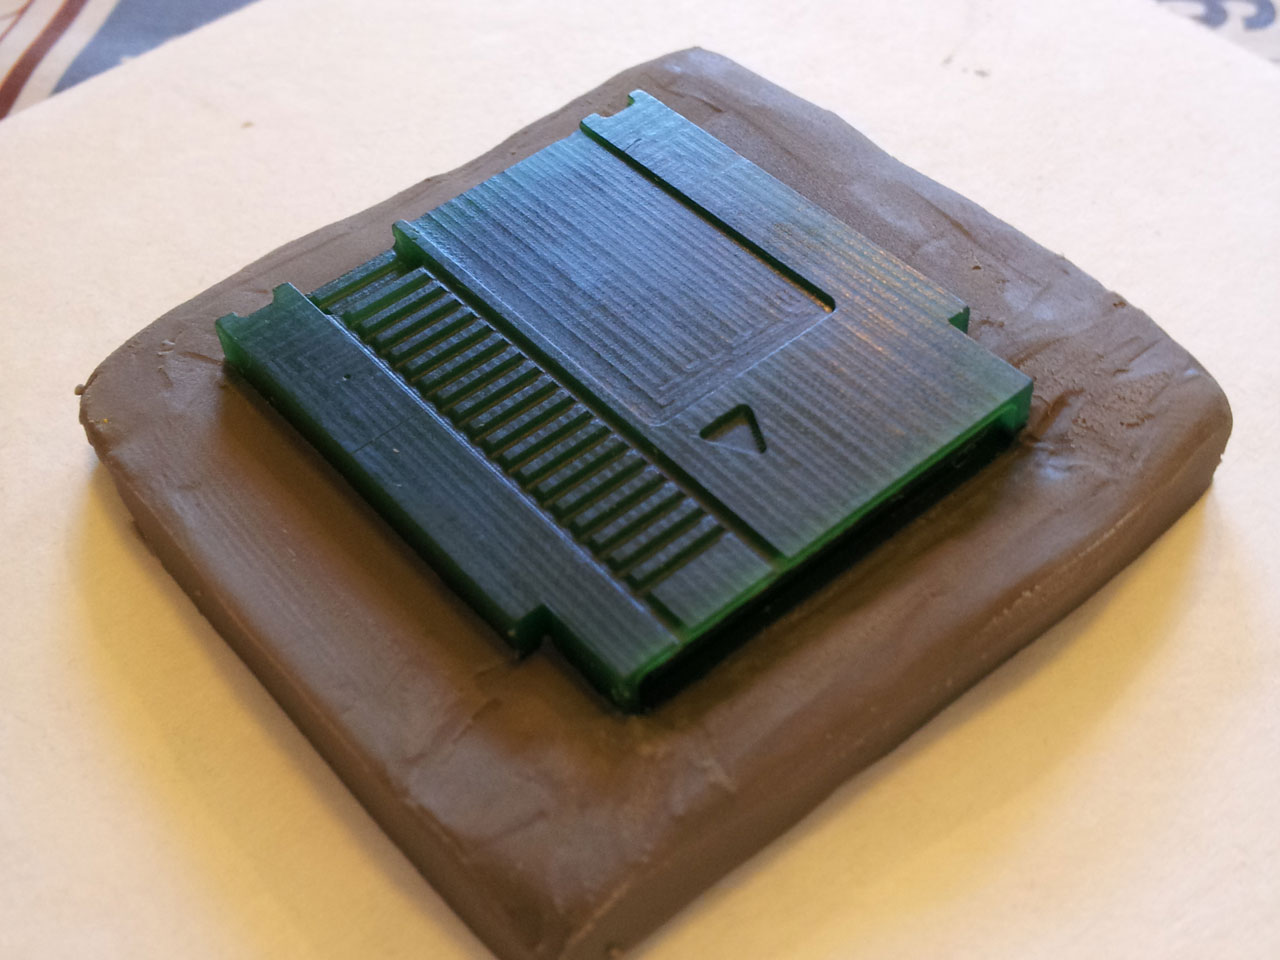
After I had the wax model finished, I was ready to make a mold. The first couple of molds worked ok but it became clear that some of the physical parts of the model were too thin and didn't cast well. Also the tooling marks on the cartridge were quite pronounced which I didn't like. I sanded off the tooling marks, and made a couple additional molds which are now operating like a tiny factory in my work shop.
Labels
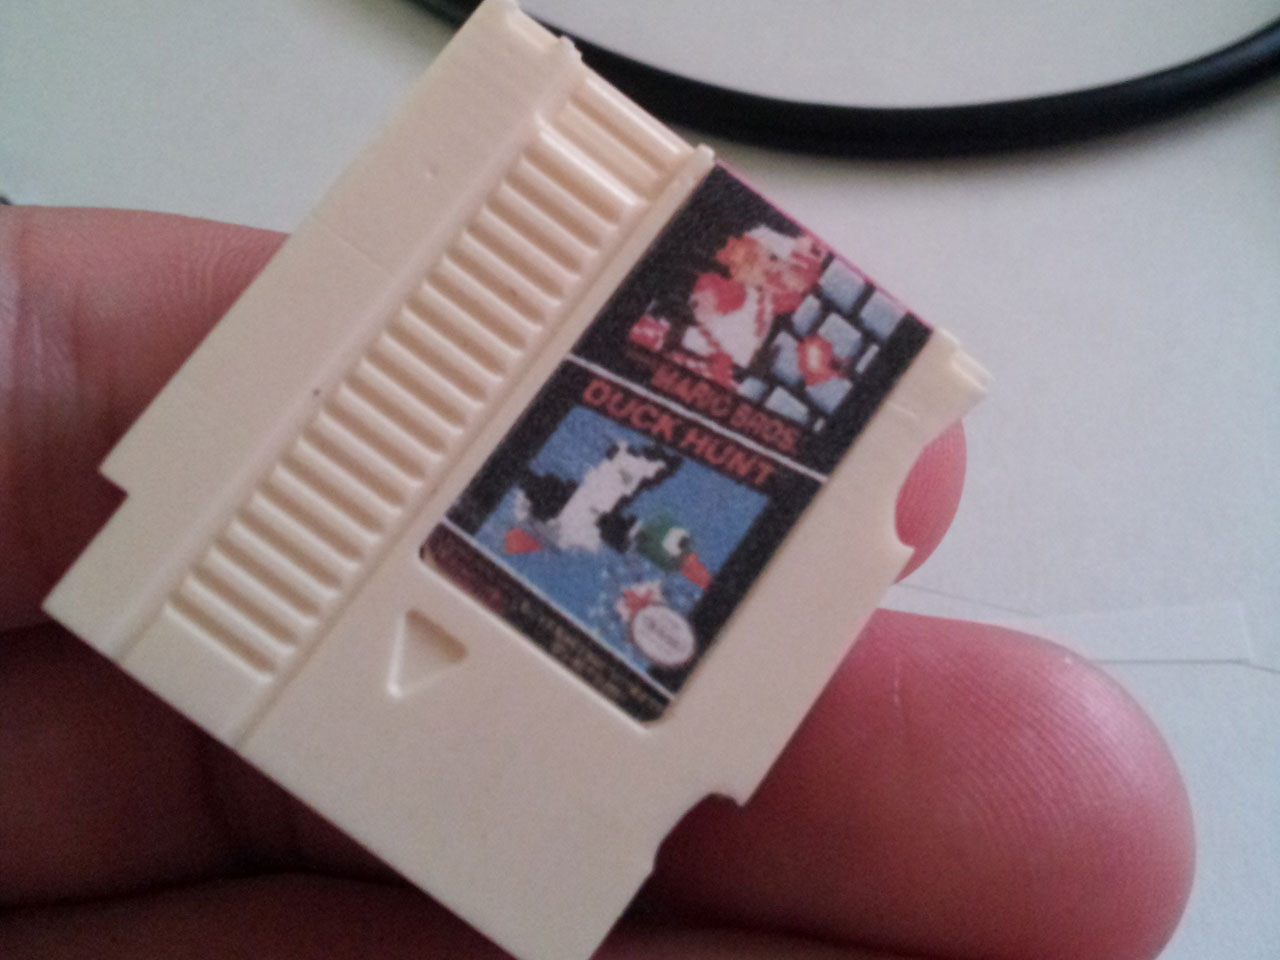
You can't just have a blank cartridge.. How would you know what game it is!? In the interest of keeping things authentic, I studied the label designs of a hand full of classic games. There are a lot of games released early in the platform's life that have very consistent label design, so I used that design aesthetic as a guideline.
Borrowing the design language of those original cartridges I came up with two custom label designs with musical themed artwork. No Limits PDX were able to print my designs and cut the 0.025 inch radius into the corners. They have a fancy printer that can both print and cut on adhesive backed vinyl stock. They were able to get nice full bleed prints with a very precise edge.
Finished!
So, here they are. Many hours of work and lots of learning went into this project and it turned out way better than I was expecting.
Now I just need to take them to a show and see if anybody wants to buy one..


