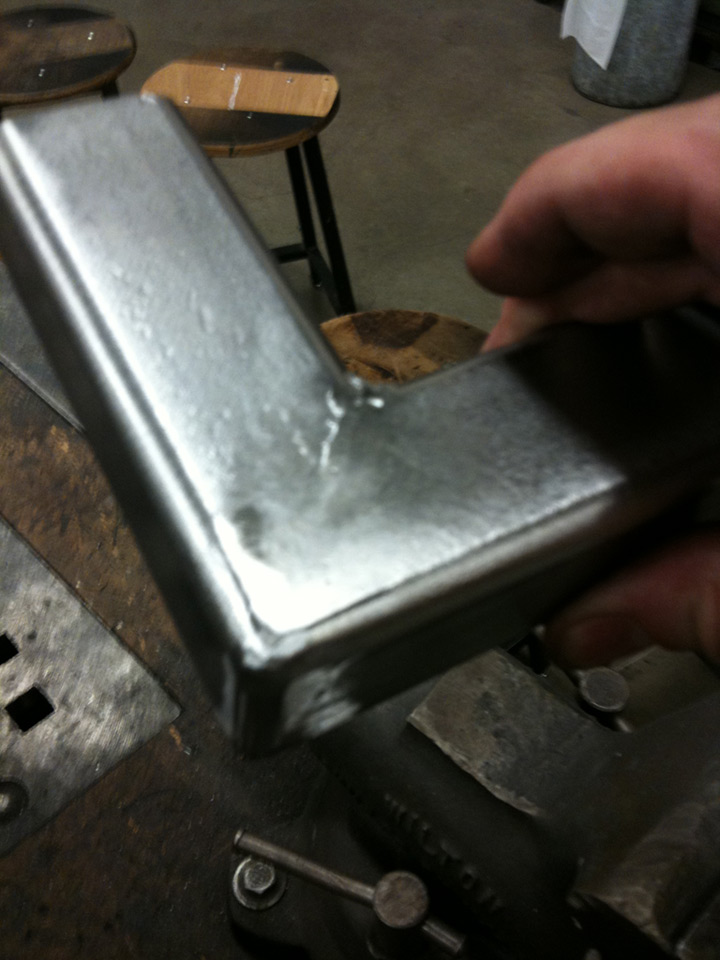
It's always nerve wracking to post something as "part 1" because of all the expectations for the follow-up, but now the pressure is off because here's part 2! My decision to change the design from flat bar to square tube ended up working out well. I feel like the bulk of the square tube is a better visual balance to the extremely sturdy bench top. Also it forced me to keep practicing at welding and figure out how to make nice 90 degree corners consistently.
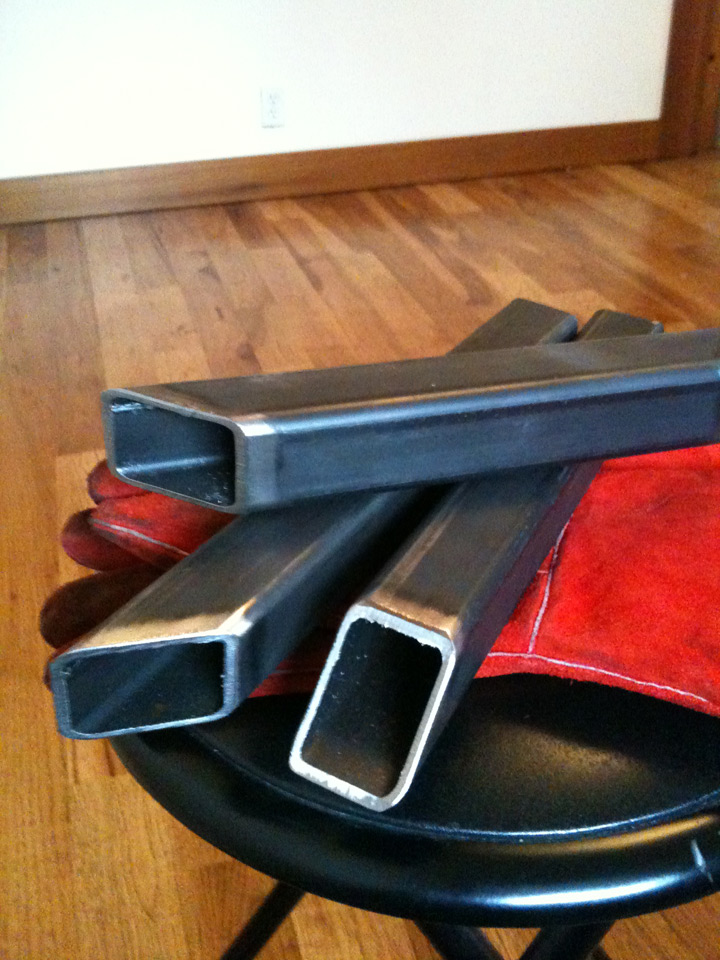
The legs started with a trip to a steel yard (a place I have never before found a need to visit). I left with a couple of four foot sections of square tube and a feeling that I was really over-building the legs. Not being accustomed to working with metal, I chose 3/16" wall thickness for the square tube which I now realize is completely overkill. After buying the metal I cut the smaller leg pieces using a horizontal band saw. I think I'd just do the cuts by hand with a grinder and cut-off wheel next time, it was kind of a pain to reconfigure the band saw for the 45 degree cuts. It's a learning process..
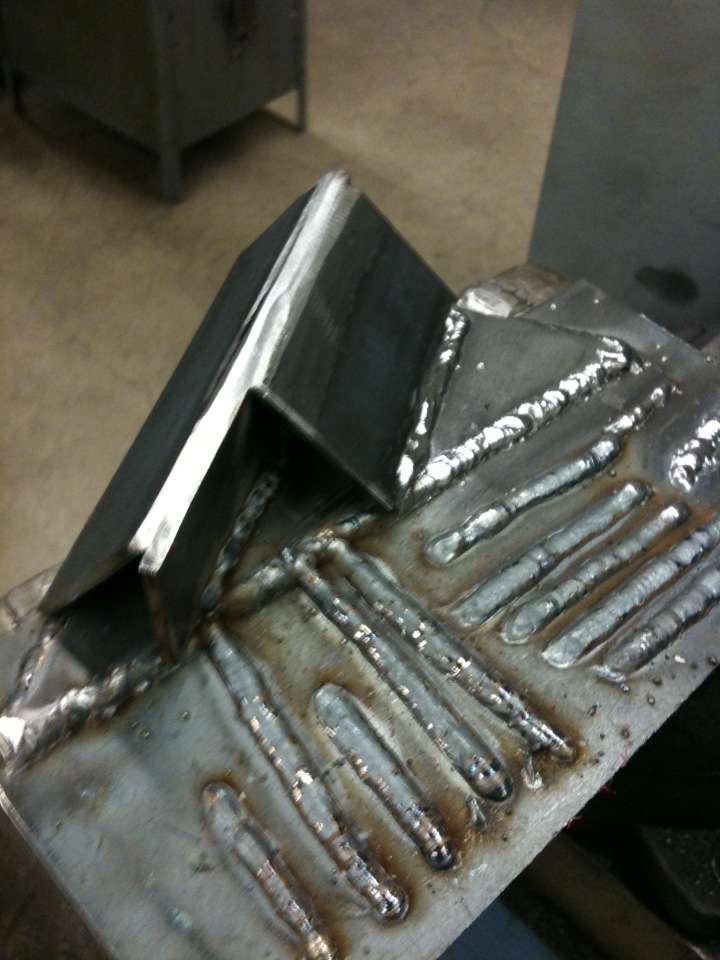
The practice joints I welded came out better than I was expecting so I moved on to the actual leg pieces without too much fear of wasted stock. The process of making the two legs went reasonably smoothly. It took quite a bit longer than I would have liked, but that's often the case when working with unfamiliar tools. The legs are screwed into the bottom of the bench via some angle iron brackets (shown here as I prepared to weld them in place).

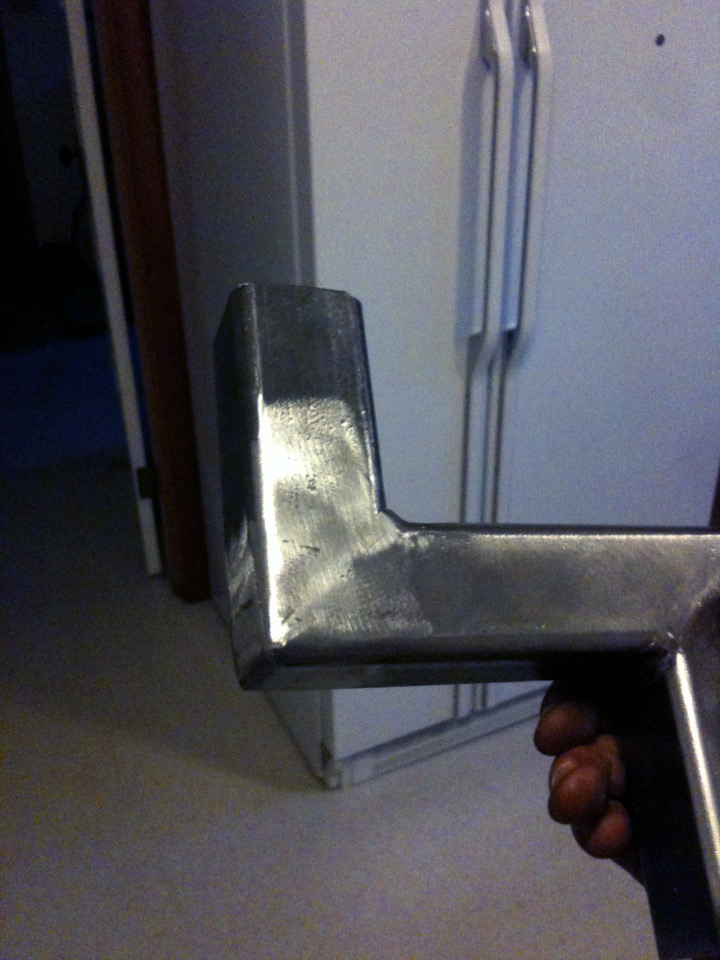
All in all, I'm really happy with the results. The first leg ended up about 1/4 inch narrower at the top due to heat shrinkage on the inside of the miter joint (that's my theory anyway) but it's not noticeable so I don't mind. The important part is that I got them both level so the bench sits without rocking.
My guess is that the finished piece weighs in around 80 pounds and you could probably park a bus on it, but it looks great and is just what I wanted.
